How to plan your first post in Poppi Social
A practical walk-through of planning your first post in Poppi Social.
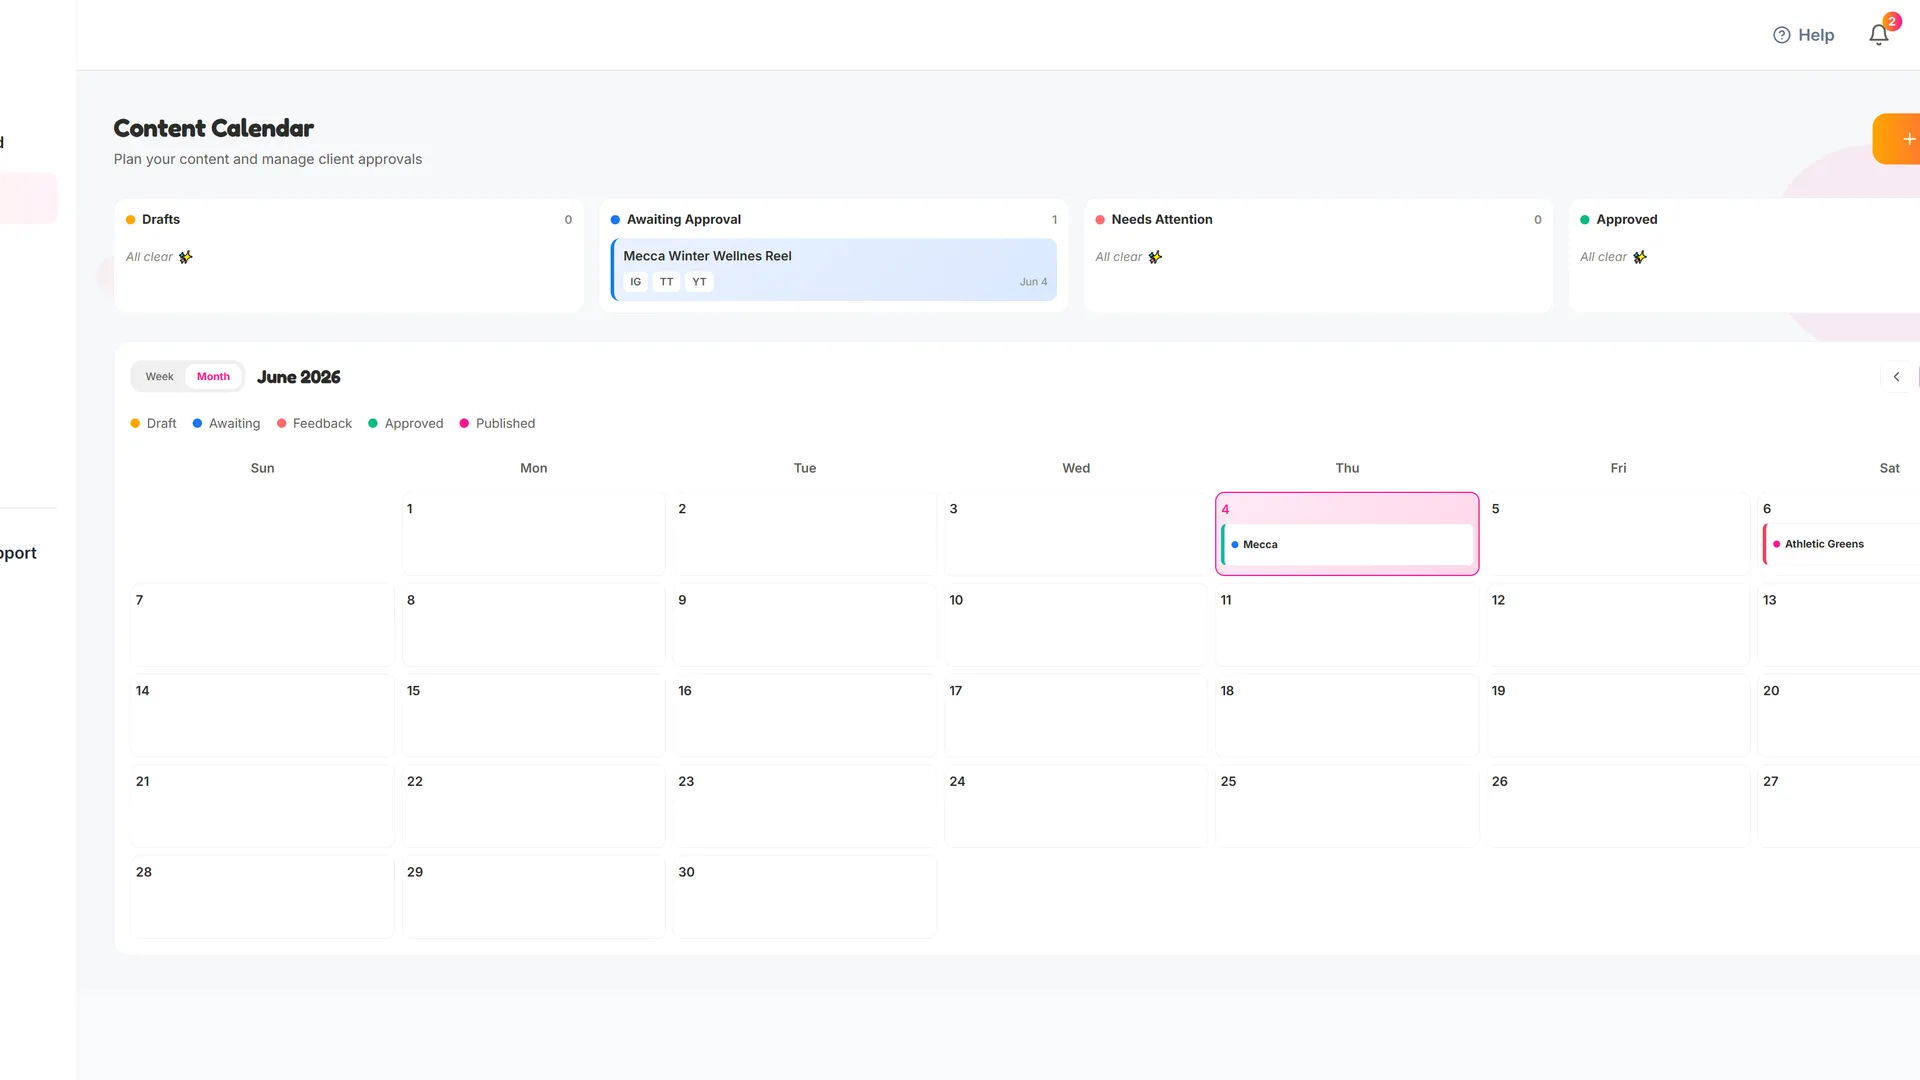
Now that a brand and deal is set up, you can start planning your post.
To do this, head to the Calendar tab. You can view your planned posts by week or by month using the toggle on the calendar. To start plannig a new post, click the "Plan a Post" button. This will open the post planning form and you can setup the post.
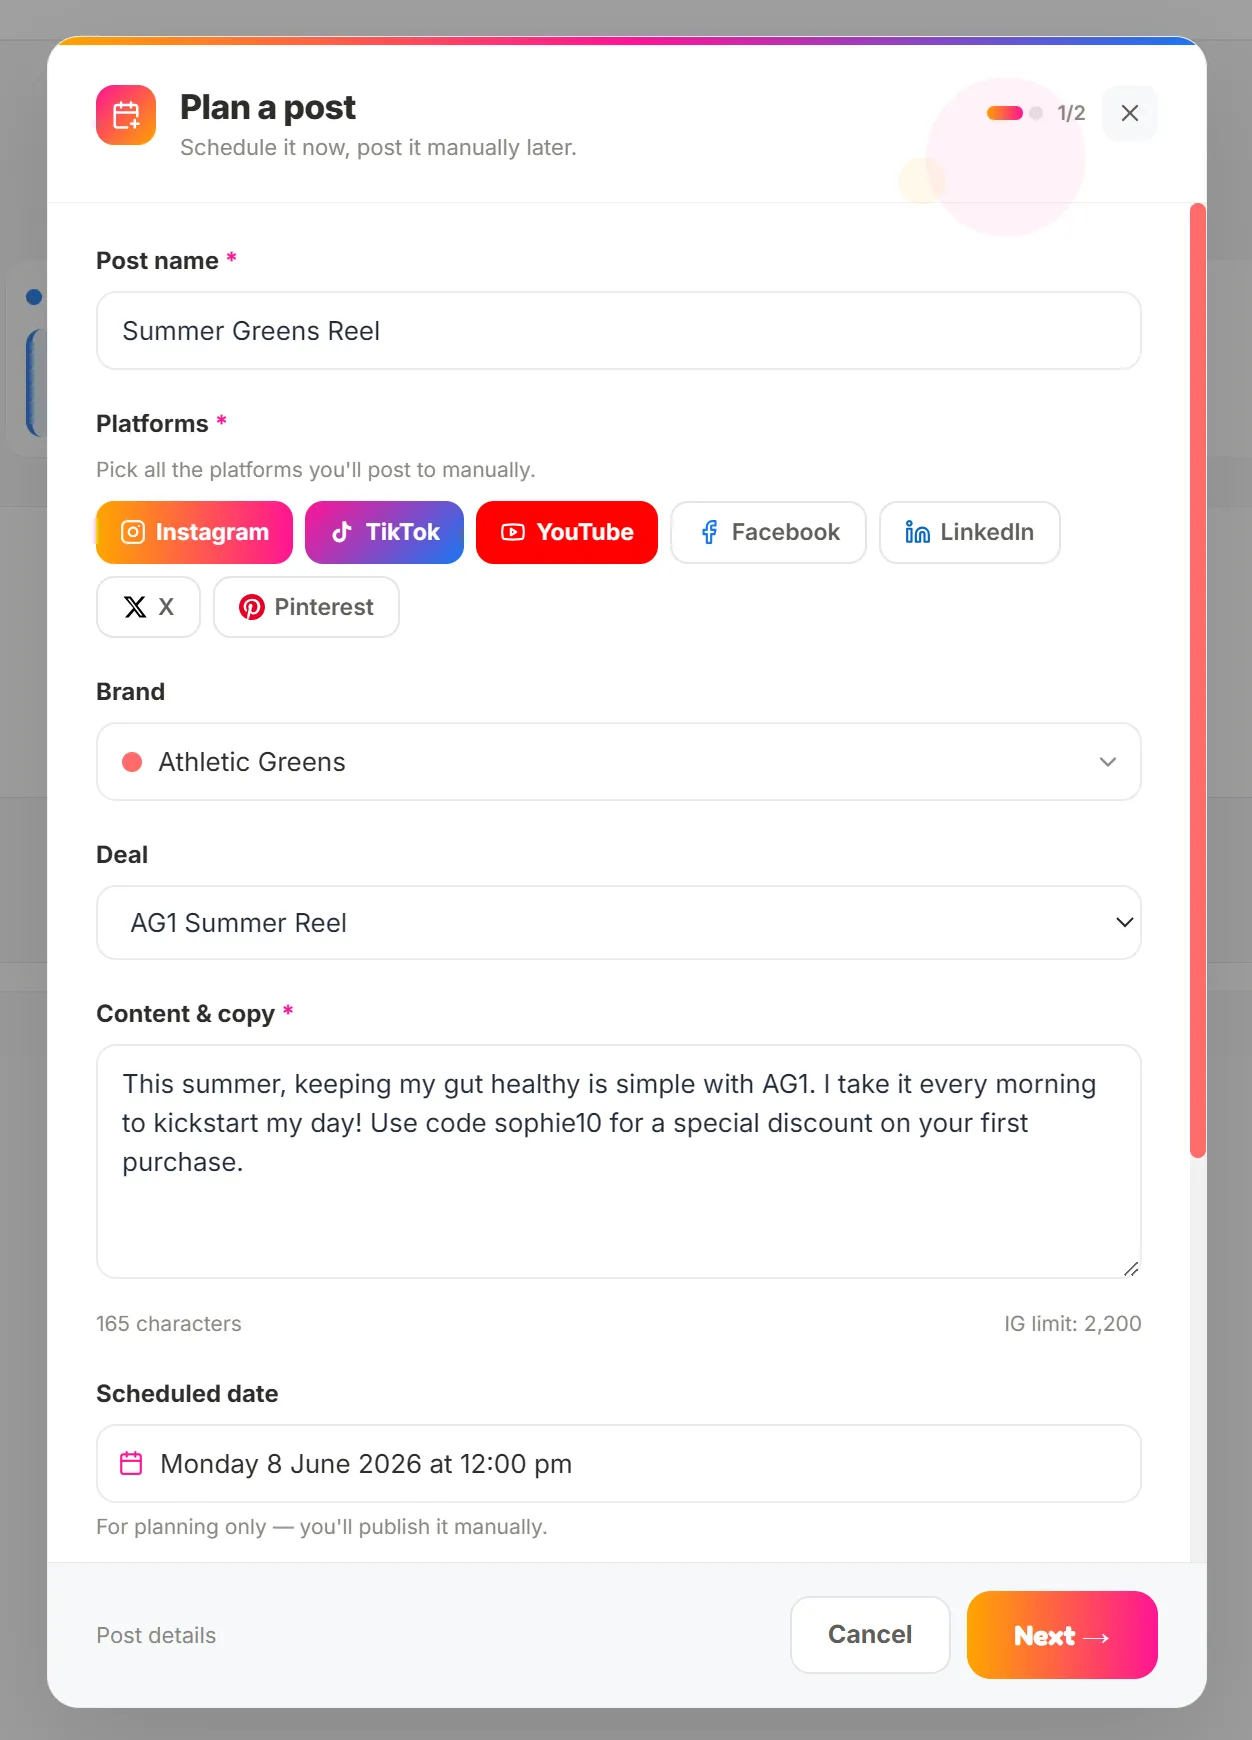
In the "New Post" form, you can enter the name of the post, choose the platform(s) you are posting to, Select the brand and deal that the post links to and add your copy. You can then add the scheduled date for the post.
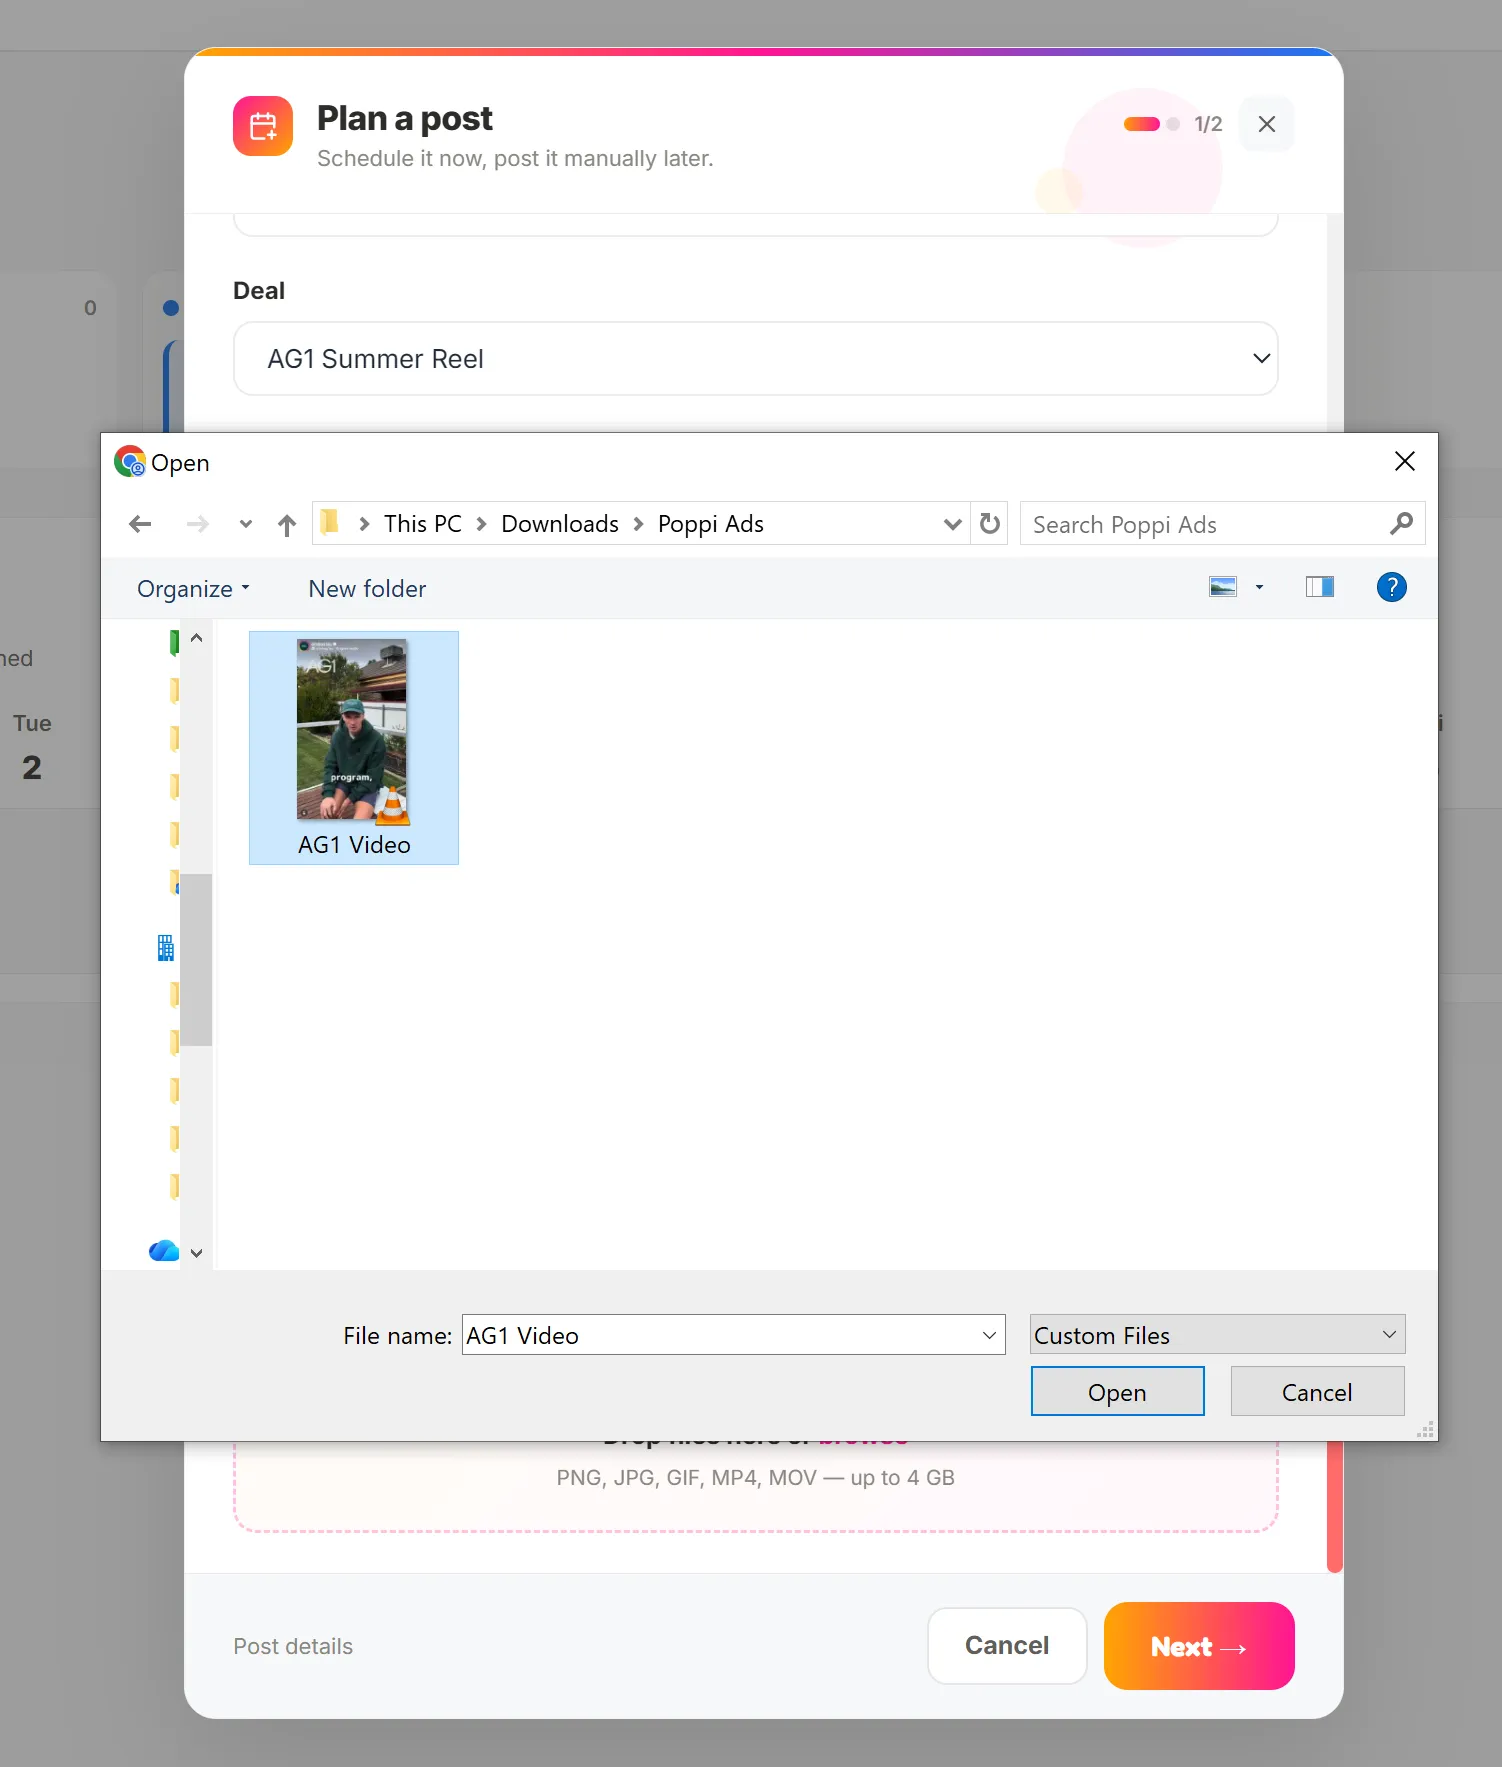
You can then enter an approval date (if required) and upload your media (reel, post etc). You can select from your local device, or drag and drop if you are on a laptop. Once you are happy, click 'next'.
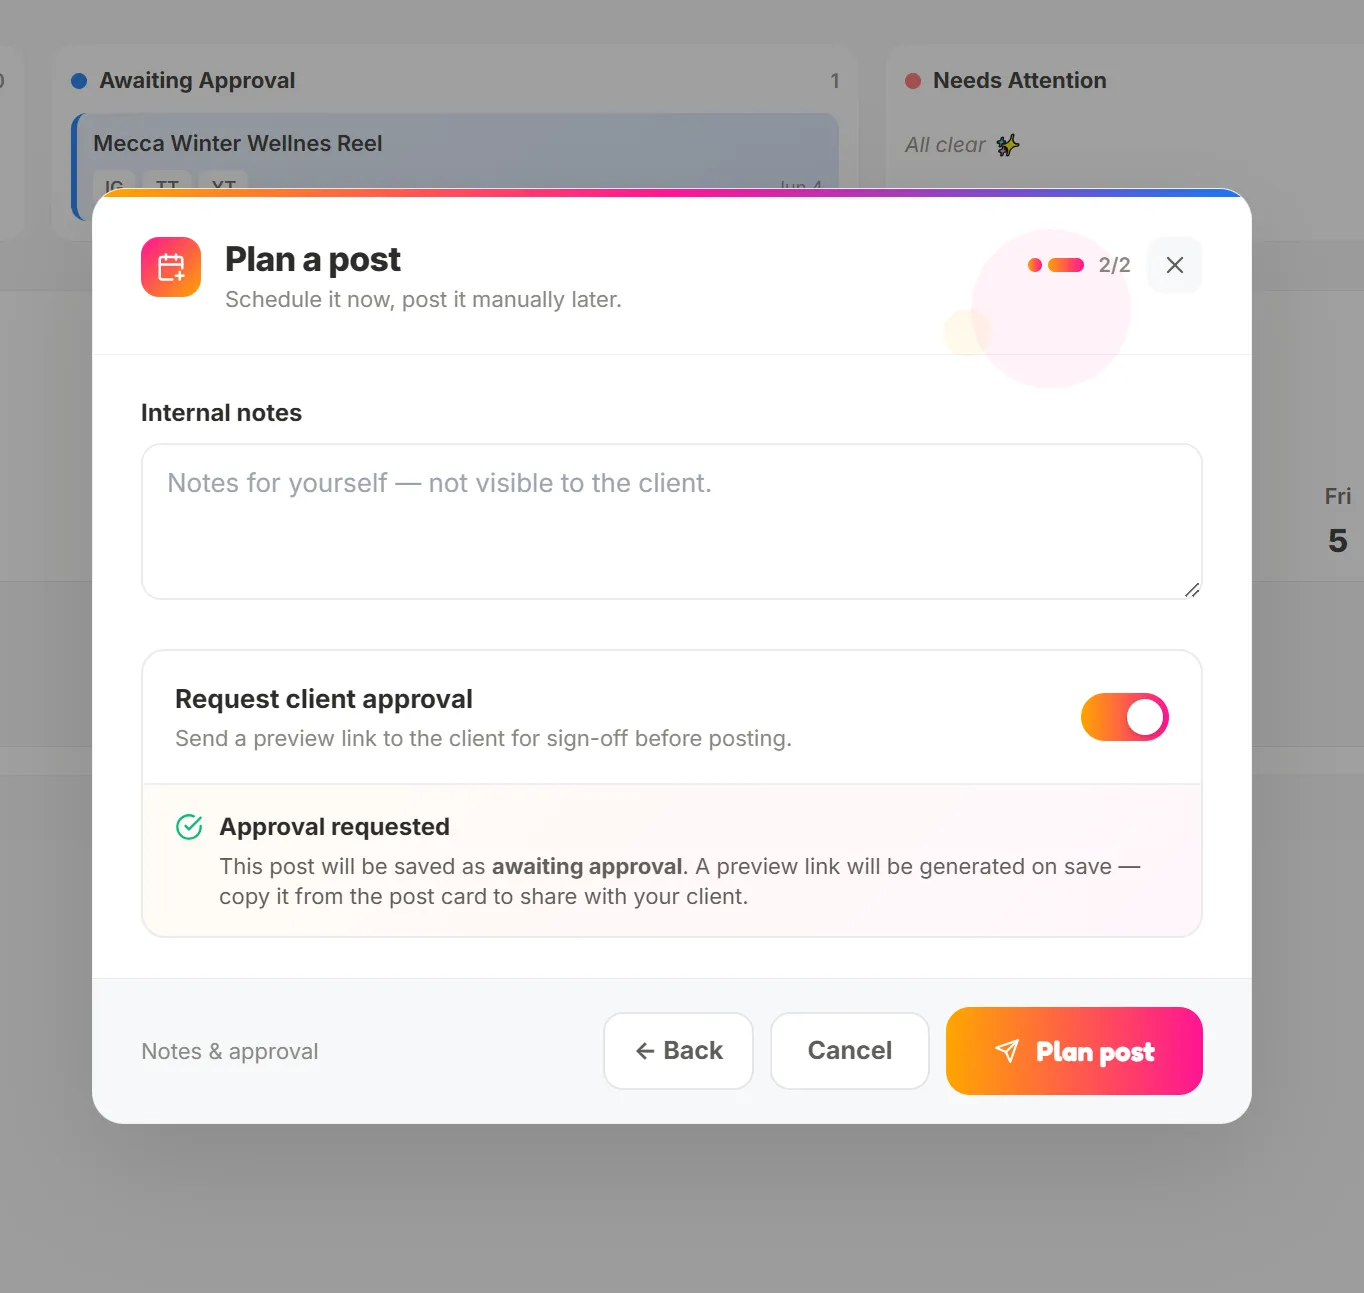
The second page of the new post form allows you to add any internal notes (for yourself, the client wont see these), and choose if you need to request client approval. If you select this, it will generate the client approval steps and a preview link for you to share to the client for feedback or approval. Click save, and the post will be planned.
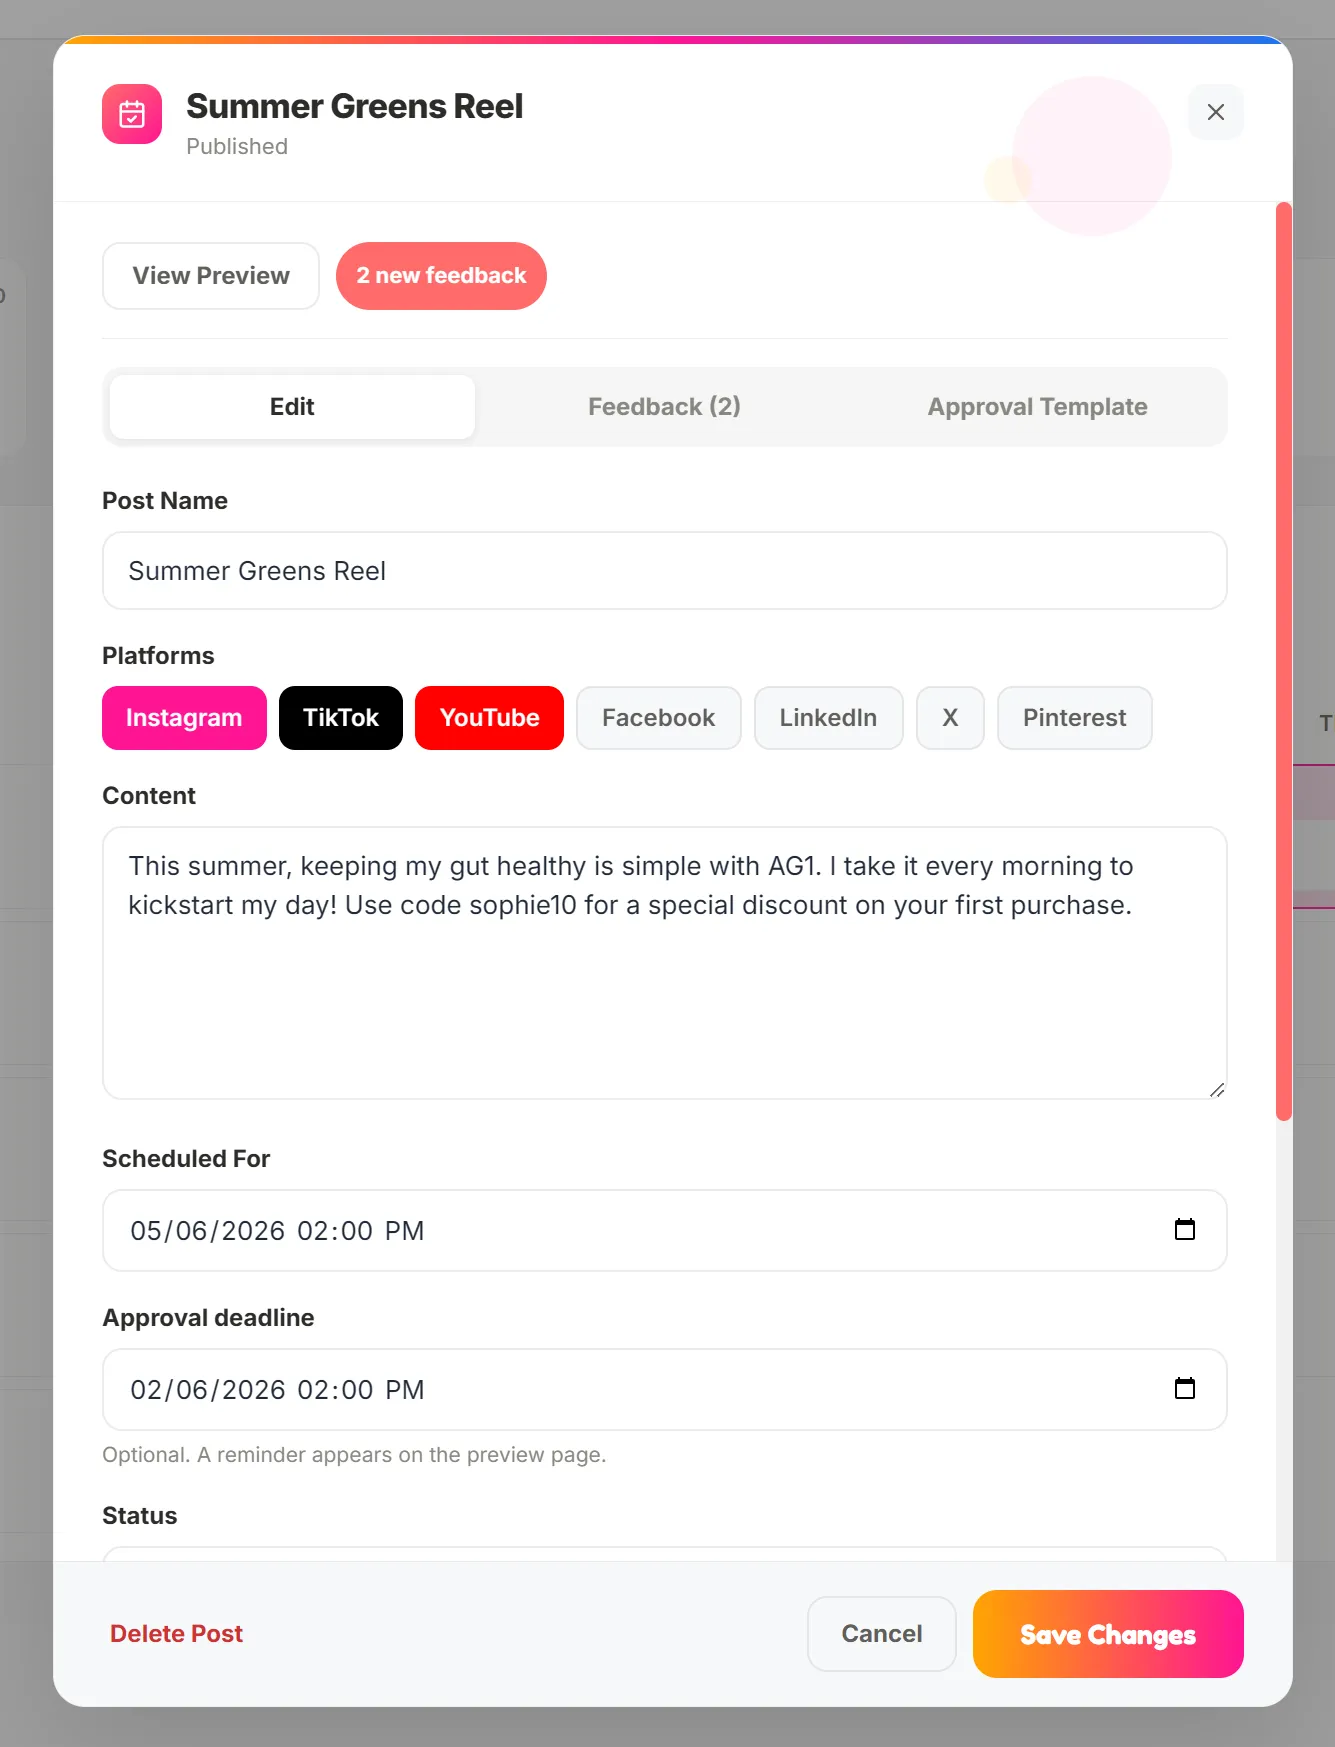
You will be returned to the calendar view. If you click on your post and open it, you can now edit any details, or if you have selected Client Approval, you will have the option to view the preview link, send them the approval template in your platform of choice (email, whatsapp, DM, etc) and view any feedback they have left. More on that here in the Getting Client Approval article.