How to set up your first brand in Poppi Social
A practical walk-through of adding a brand for the first time in Poppi Social.
The best place to start is with adding a brand. This is where all your deals and posts ladder up to, and it can be reused across multiple deals in the future, or multiple posts under one deal. It holds brand contacts, documents like rules or brand guidelines, and any other information you like. We recommend that contracts, briefs, and agreements go against an individual deal for each brand. That's the cleanest way to manage it.
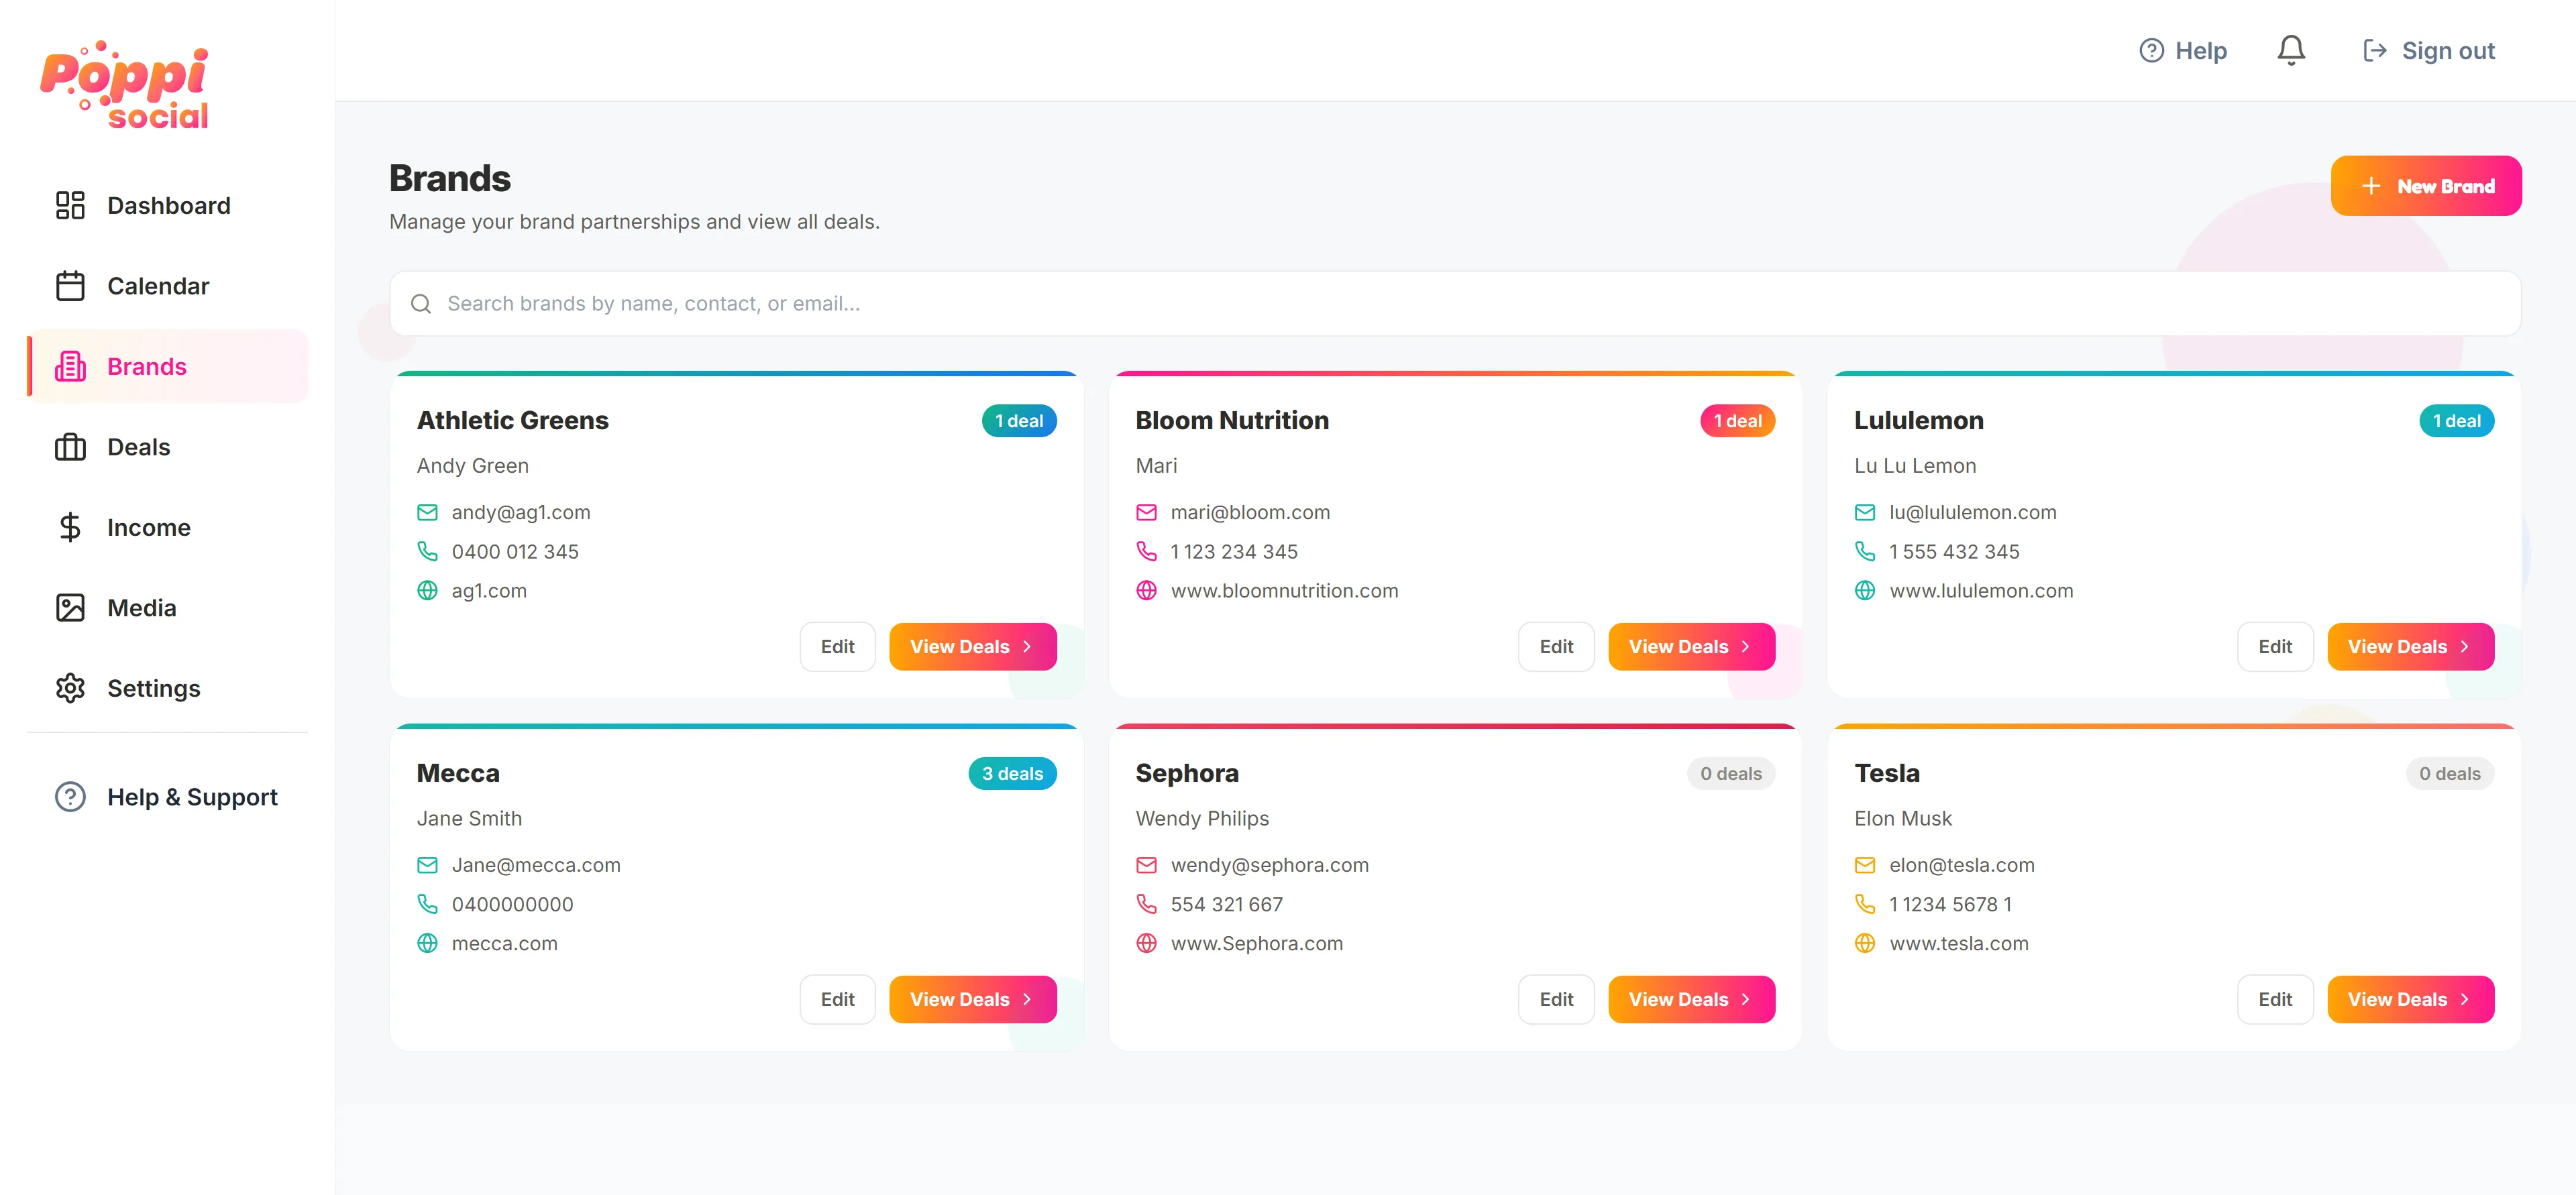
First, click "BRANDS" in the left-hand menu, then click the "Add brand" button in the top right. This will open a form where you can add all the details about the brand, including the Brand name, industry and website.
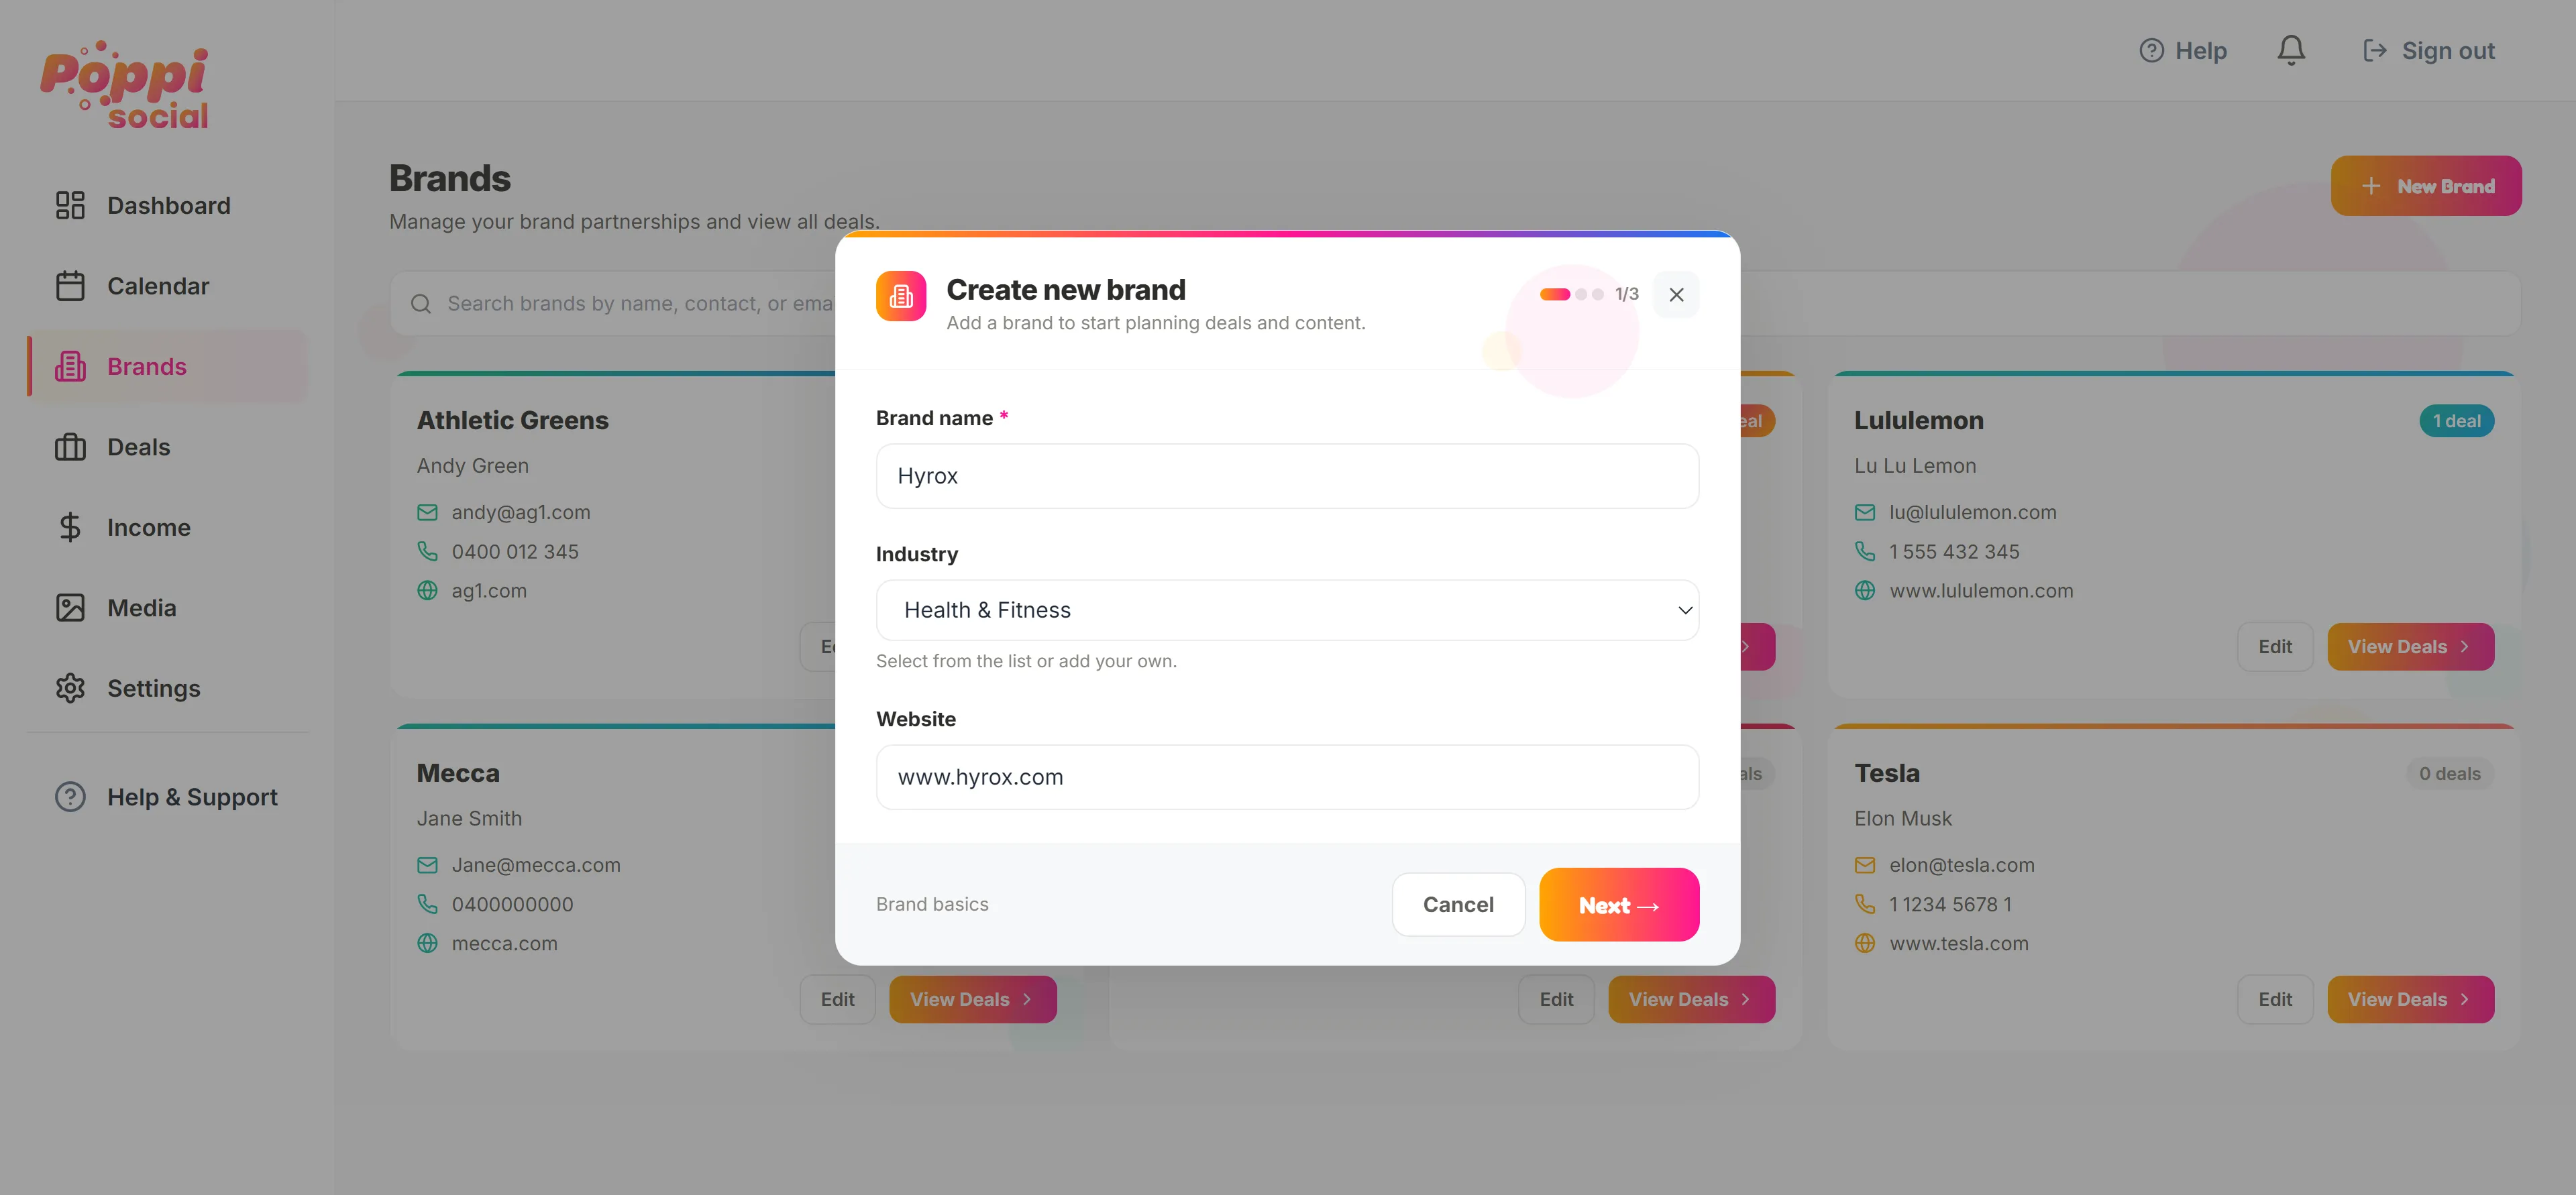
Click 'Next' and you can access the second page of the brand details.
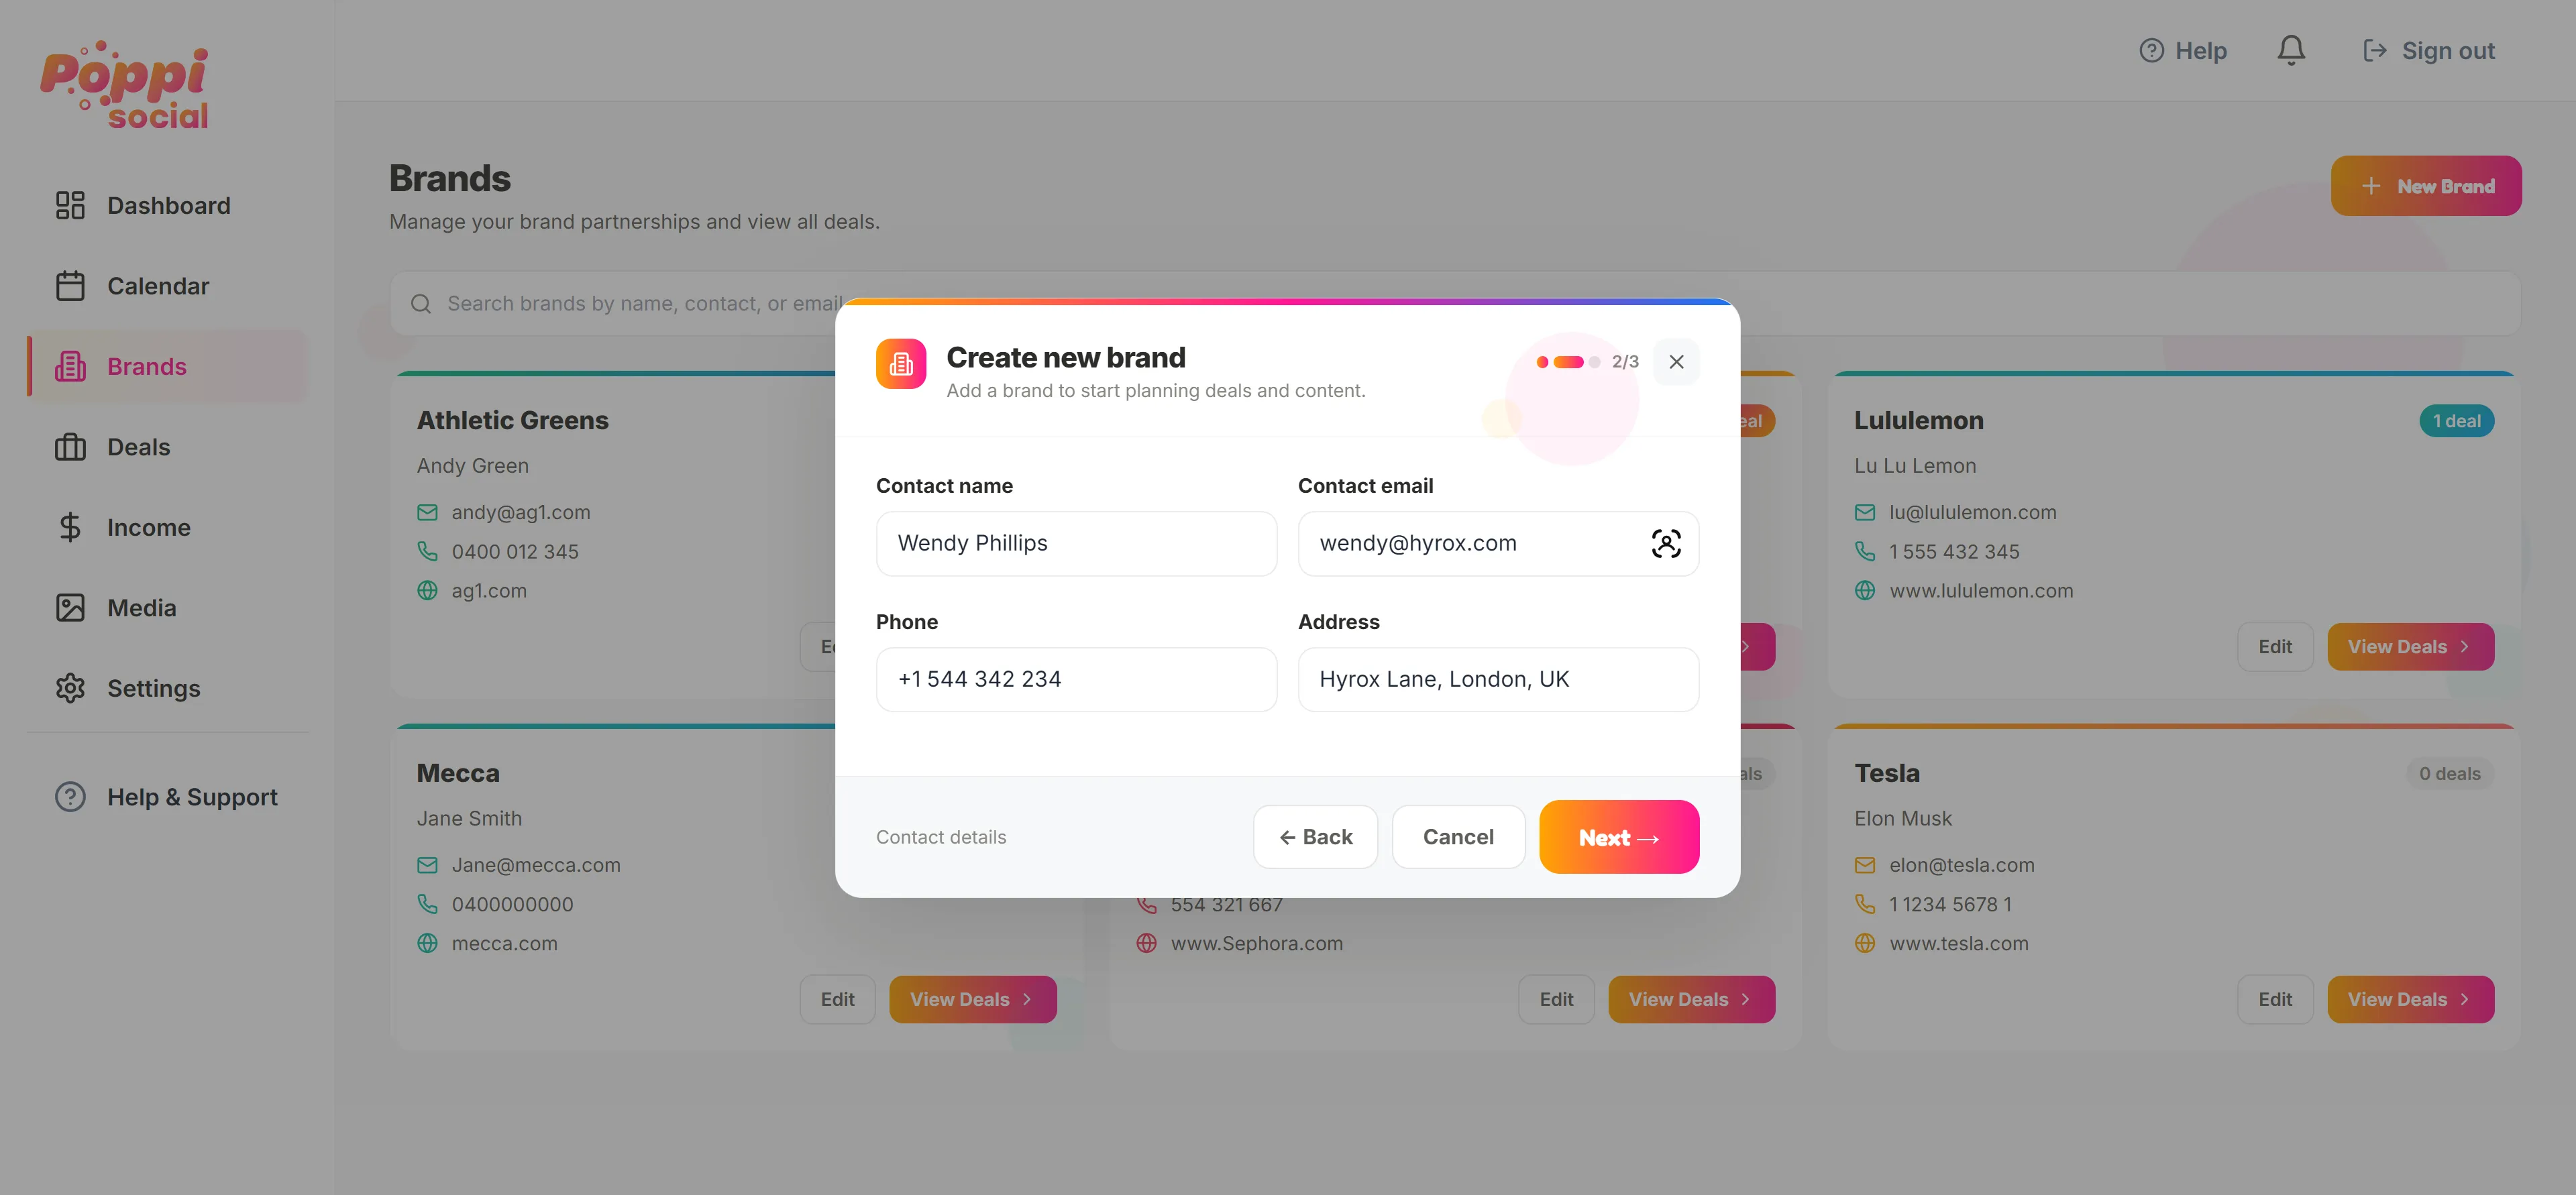
Add the contact details for the brand. You can edit these at any time later.
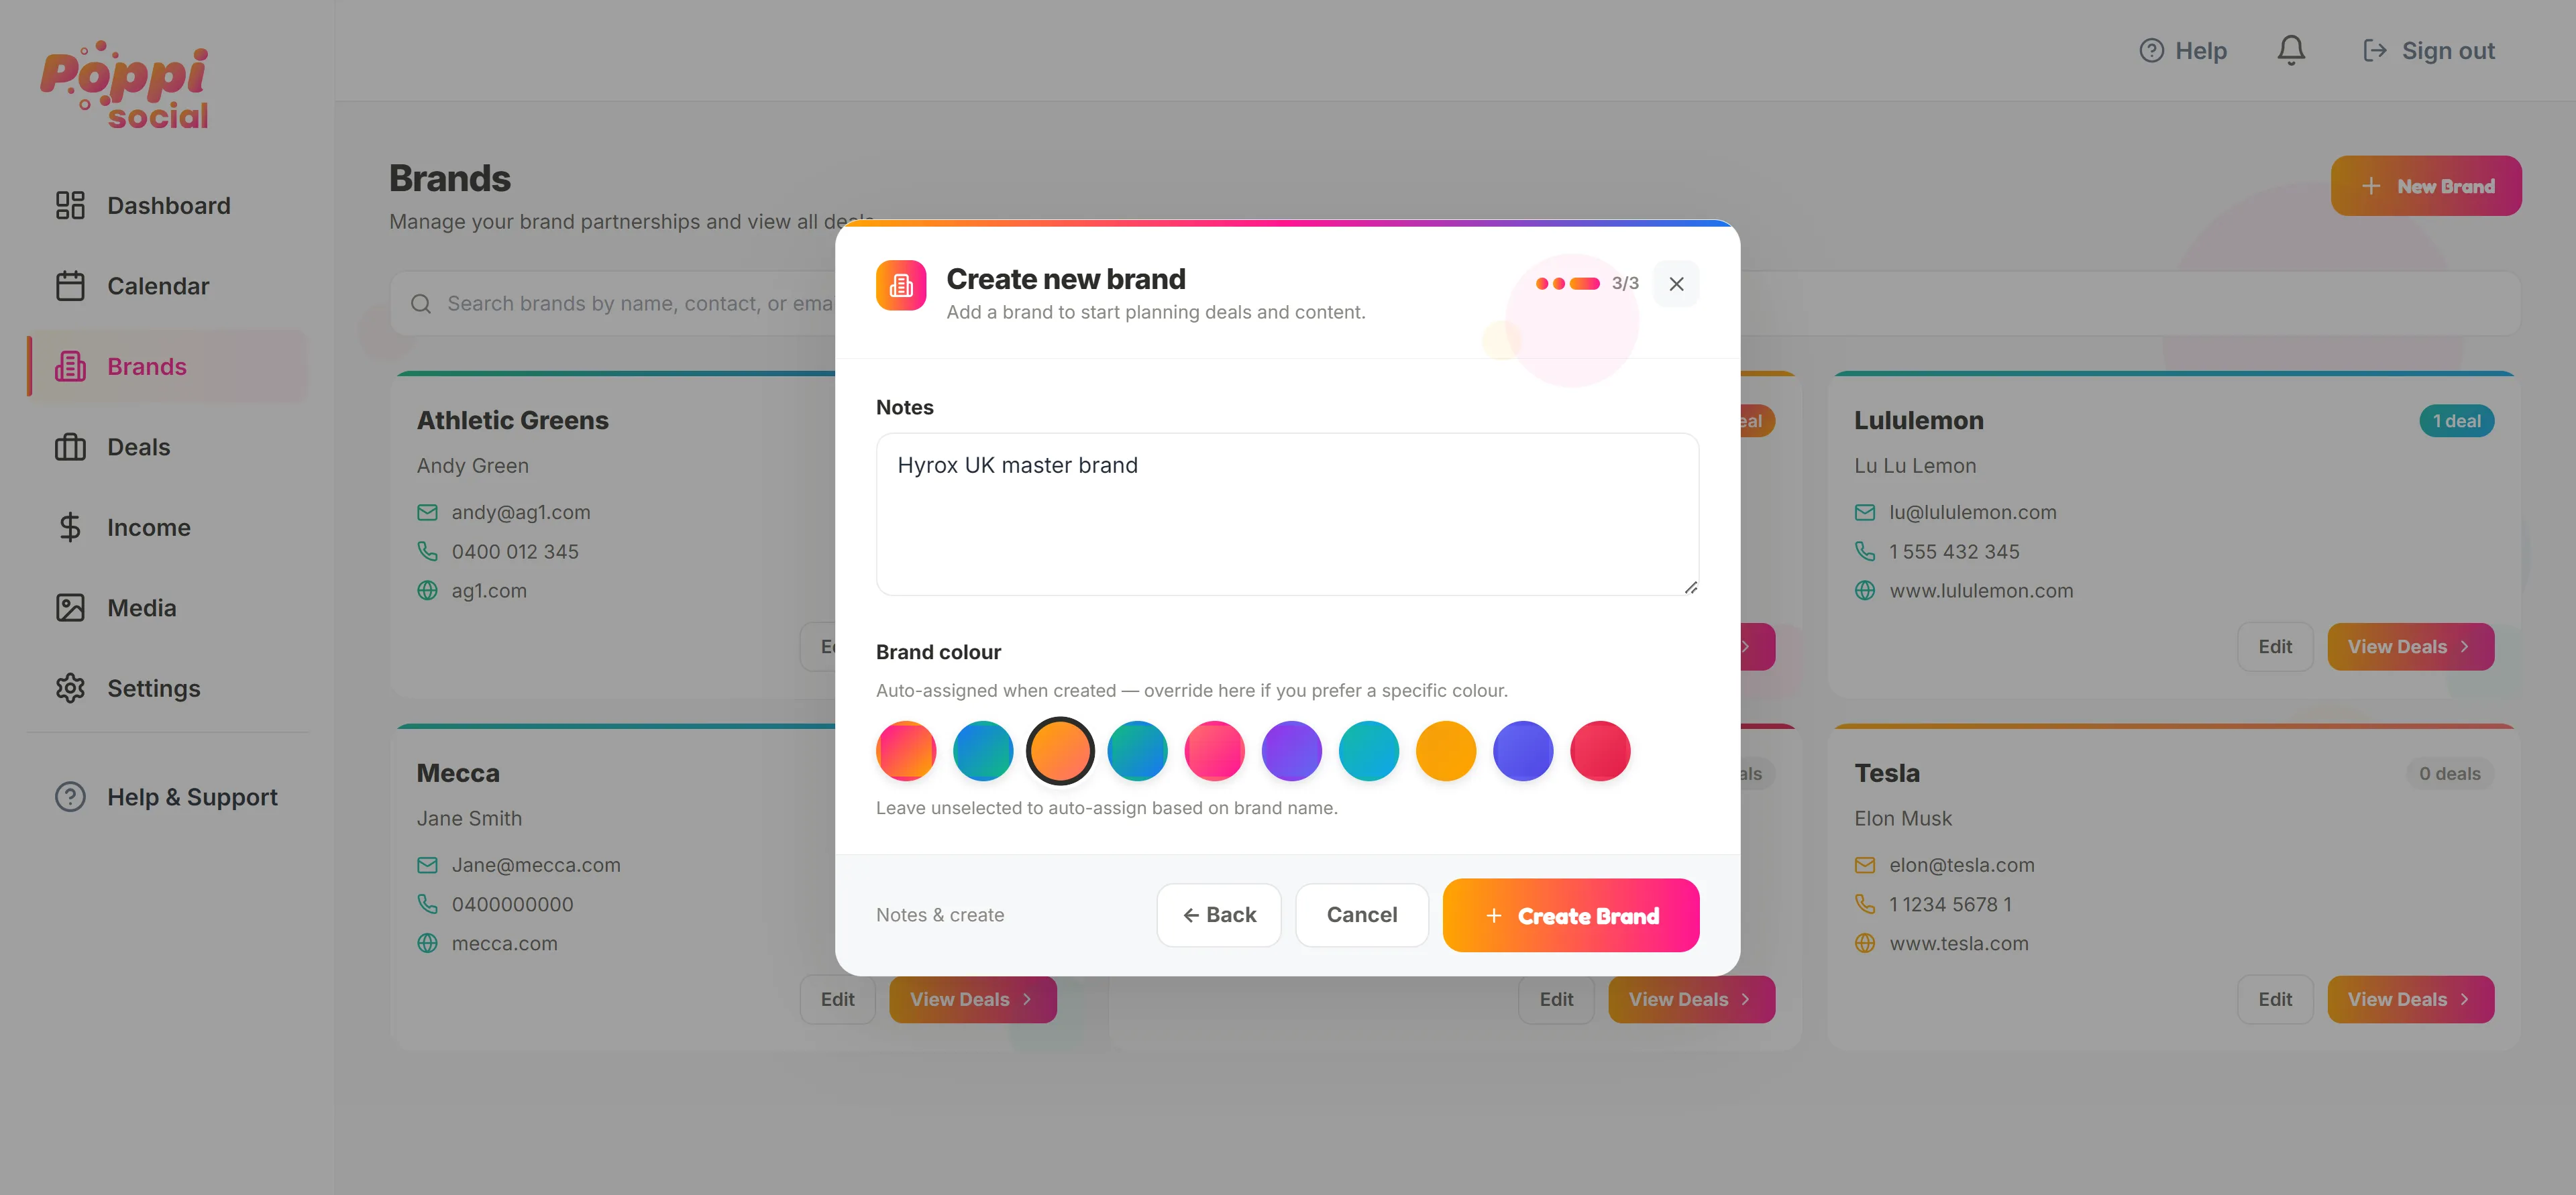
Finally you can add any notes about the brand, select a custom colour if you like and finally click "Create Brand". This will save the brand for you in the brands dashboard.
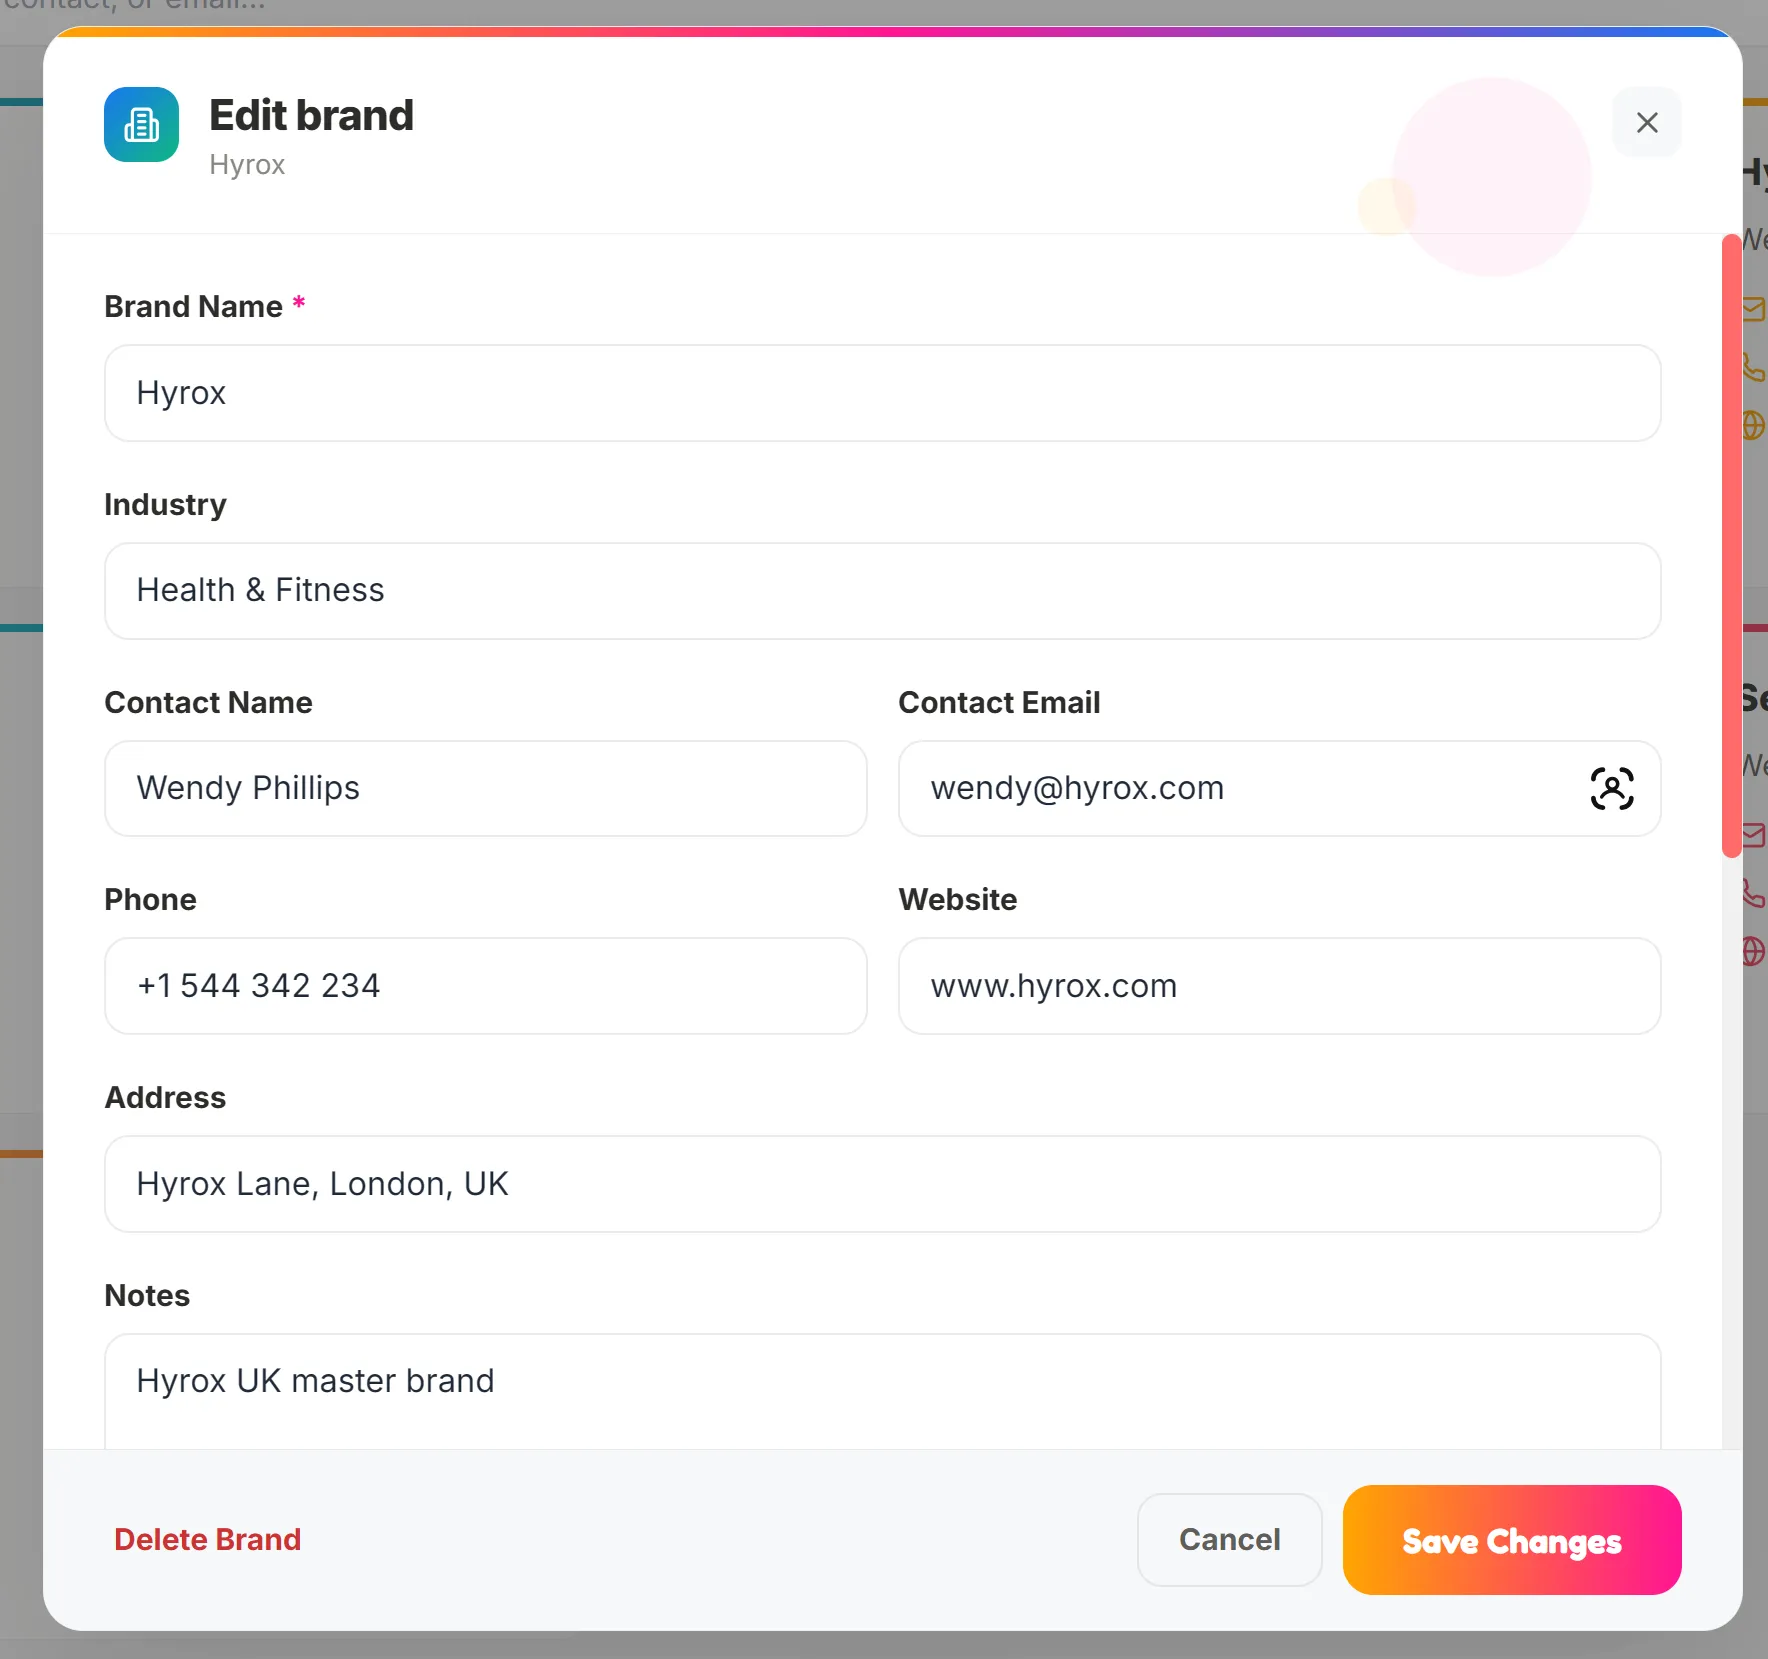
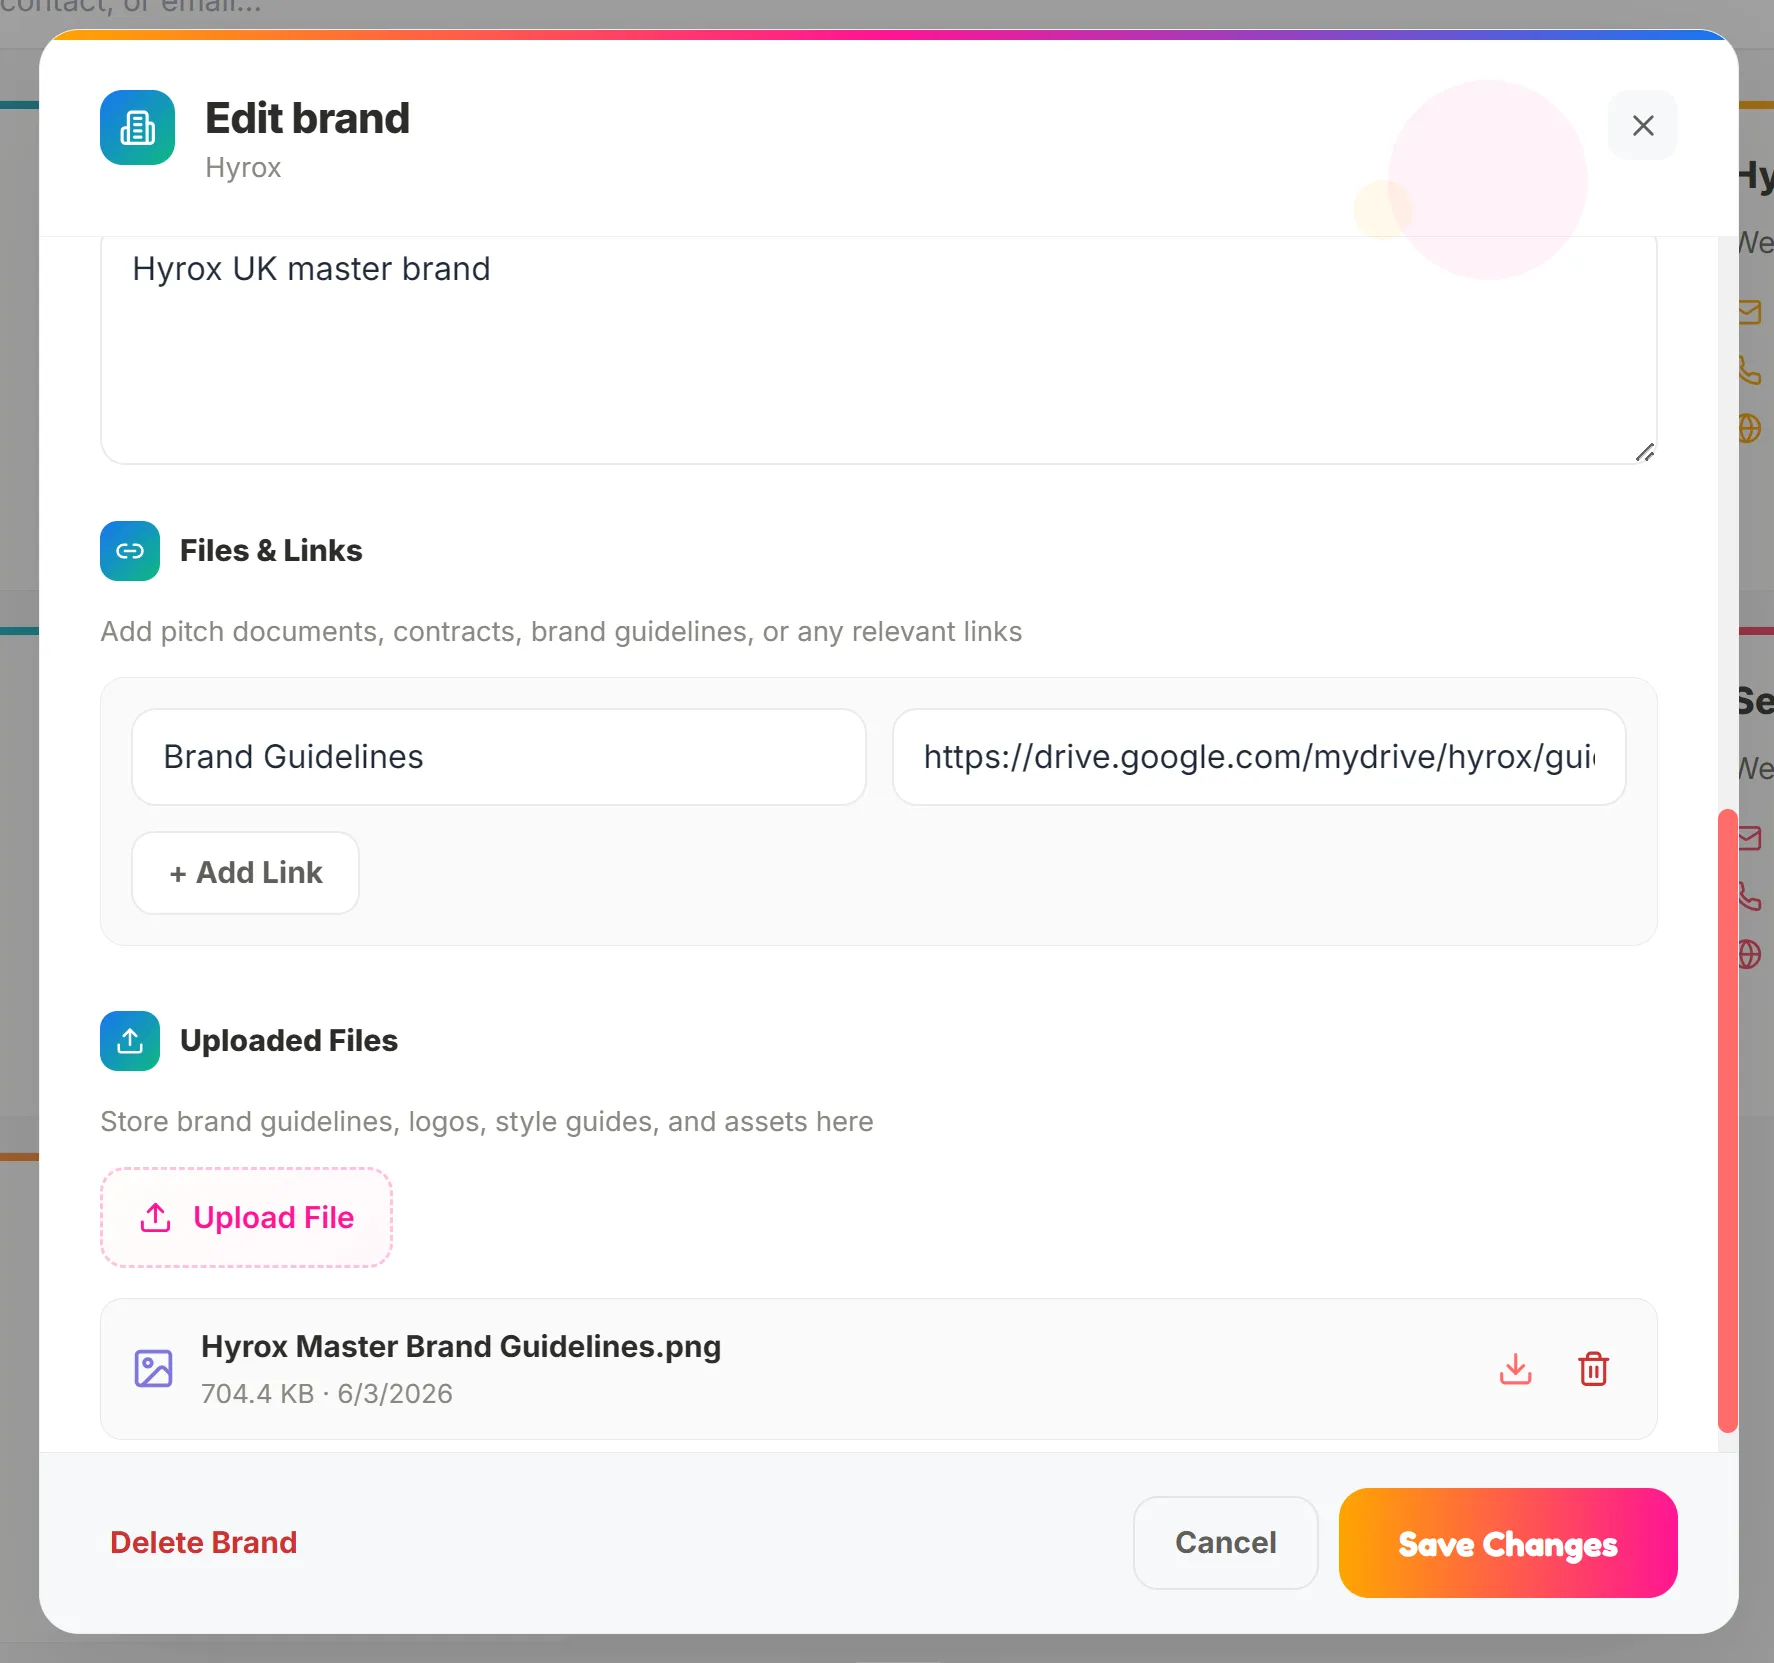
Next, hit "EDIT" on the brand you just created to make any changes, save links for important documents or locations, or upload brand documents via the upload option. Click "Save Changes" when you're done.
That's it! Your first brand is now set up. You are now ready to create your first deal and start collaborating with brands in Poppi Social.